HealthyPi in Wifi Mode as a Web server
In the Wi-Fi/web server mode, HealthyPi can stream live data over the Internet through any available WiFi connection. A push-button boots the device to the web server mode with the default HealthyPi Wi-Fi Access Point (AP). You can connect your from you WiFI-enabled device to the “HealthyPi ” Wi-Fi network and point your web browser to the “healthypi.local” site to access the home page of the application. The HealthyPi web server page displays the live calculated values as well as options to update firmware.
Starting with Web server
1. Push the on-board push button, to switch from BLE mode or V3 mode to Web server mode.
2. The board will restart with WiFi where the yellow LED stays ON for 2.5 seconds and then cycles ON and OFF as an indication for Web server mode and then enters Wi-Fi Access Point (AP) mode where the BLUE LED blinks 6 times. WI-FI Access Point means that you can connect to the ESP32 via any PC or smartphone with Wi-Fi capabilities without having to connect to your router.
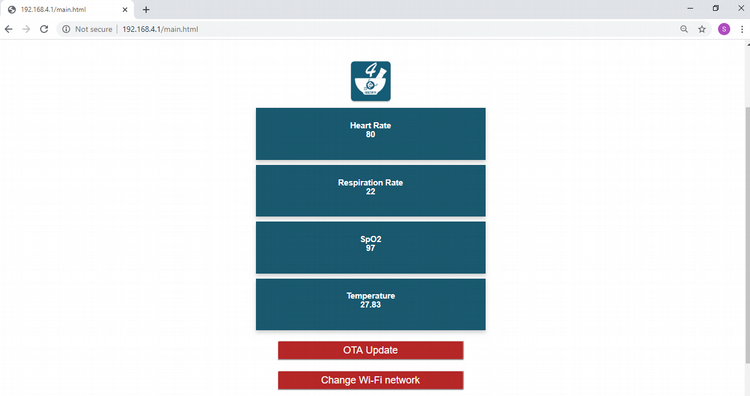
3. Connect your PC or other Wi-Fi enabled smart device to the “HealthyPi” wifi network and type http://healthypi.local in the address bar of your browser, This will re-direct to the Healthypi v4 web-server dashboard where you can view the Heart Rate, SpO2, Respiration and Temperature by connecting the temperature sensor, the SpO2 probe and the 3 electrode cable to the healthypi v4 board.
4. If the web page is not loaded using http://healthypi.local, use the IP address of Healthypi v4 that will be shown on the serial monitor while using Soft AP mode. Make sure that the Healthypi v4 is in Webserver mode while checking for the IP address on the serial monitor.
5. You can also connect to a private network to view the Heart Rate, spO2, Respiration, Temperature in the webserver mode.
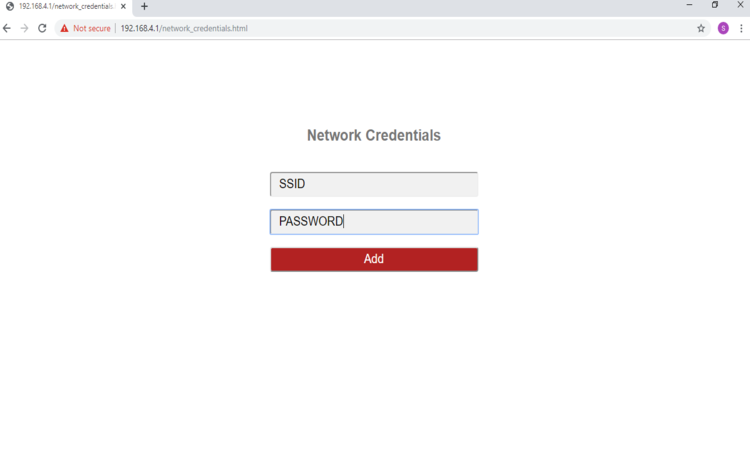
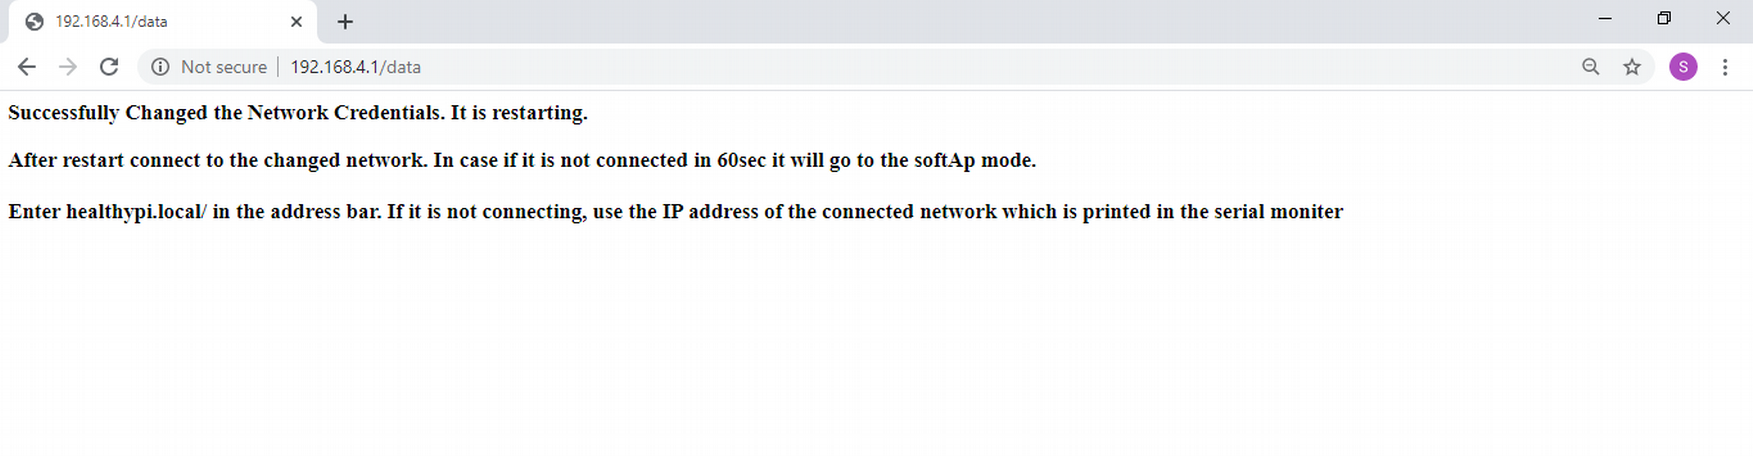
6. To connect to a private network, click the Change Wi-Fi Network button on the dashboard, redirect to the web page to enter the Network Credentials, SSID and Password. Click add, redirect to the “Successfully Modified Network Credentials” web page, and the device restarts and automatically connects to the user’s chosen network and shows the IP address of the private network on the Serial Monitor.
7. In the case that the Healthypi v4 does not connect to the private network, the device will restart and enter the Wi-Fi Access Point (AP) mode with a BLUE LED blinking 6 times.Repeat the 3rd or 4th step to re-connect.
Updating Firmware
OTA update feature in HealthyPi v4 is a more efficient and effective way to remotely update the software. It is convenient for end users to make changes and upload the software to the board without a USB cable. There is an OTA toolbar in HealthyPi v4 web server page, the user only needs to click the toolbar to update the latest software to the device. Updating the firmware can be done in a matter of seconds.
Flow of OTA in HealthyPi v4
1. Perquisite for OTA update is the binary file of the latest firmware. The binary file is generated by Arduino IDE -> Sketch -> Export Compiled binary. The generated binary file is stored in the same folder as the .ino file.
2. Ensure the Healthypi v4 is in web server mode. The Soft AP mode and STA mode are the two modes in the web server.
3. On connecting the board via USB to the PC, the IP address of Healthypi v4 will appear on the Serial monitor while using Soft AP mode. Typing the IP address / MDNS (i.e., healthypi.local) in the web browser will direct to the HealthyPi v4 web server dashboard.
4. In order to shift to the STA mode where the user can connect the Healthypi v4 to a private network, repeat the above step and click on the Change WiFi Network button on the dashboard, it redirects to the webpage for entering Network Credentials. The device restarts and automatically connects to the user’s desired network and displays the IP address of the private network in the Serial monitor.
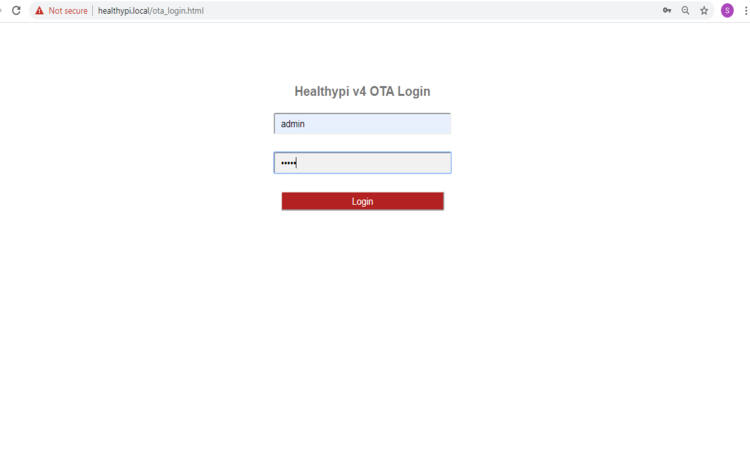
5. On the right hand corner of the web server dashboard, an OTA button is present. On clicking the button, an OTA login page appears for OTA credentials. Enter the username and password as “admin” and “admin” and click on login.
6. Once logged-in, the user will be able to select the available binary files that can be used for software update of the device.
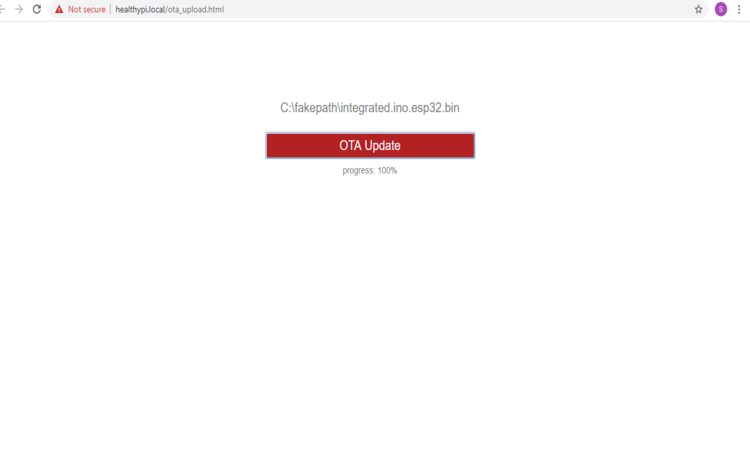
7. Once the binary file has been changed, Healthypi v4 reboots with both Yellow and Blue LEDs will blink and the board will function as per the new binary file / software.