Meet HealthyPi v4 !!!
Reliable health monitoring has traditionally required that we tether ourselves to machines capable of recording our vital signs around the clock. Outside of a clinical setting, however, this is rarely practical. We developed HealthyPi v4 in part to address this challenge. Building upon its predecessor, HealthyPi v4 is a fully open source, standalone vital signs monitor with wireless and wearable capabilities.
Unveiling Healthypi v4 Kit
What’s in the box?
1. HealthyPi v4 main board
2. 1000mAH, 3.7V Li-Po Battery with JST
3. Sensor Cable- Electrode pads(3 connectors)
4. Finger-clip SpO2 probe
5. Qwiic based temperature Sensor with Cable
6. Micro USB Cable
7. Disposable ECG electrodes(20 nos)
HealthyPi v4 Complete Kit Contains:
This kit contains everything in HAT Kit, and additionally includes:
1. Raspberry Pi 4 Model B computer
2. Official 7” Raspberry Pi touchscreen LCD display
3. SmartiPi Touch-2 Enclosure
4. 16GB microSD Card
5. Medical-grade power supply
Connecting sensors
Connecting the ECG/Respiration Electrodes

A 3-electrode cable along with a standard stereo jack is provided along with the shield to connect the electrodes to the board. The other side of the electrode connector would connect to Snap-on electrodes attached to the body. For testing purposes, you can use an ECG simulator to provide inputs to the board.
Important Warning: When connecting the electrodes to the body, it is safer to disconnect the mains power source to the Arduino. For example, if you are using the Arduino along with a laptop, disconnecting the battery charger from the laptop would be a safe option.

Place the electrodes on the body in the positions as shown in the image above to get the best signal. However, placing it in other positions on the chest would work as well with differing ECG signal patterns. For getting respiration using the Impedance Pneumography, it’s best to wear them on the chest as mentioned in above image.
Connecting the Pulse Oximetry Probe
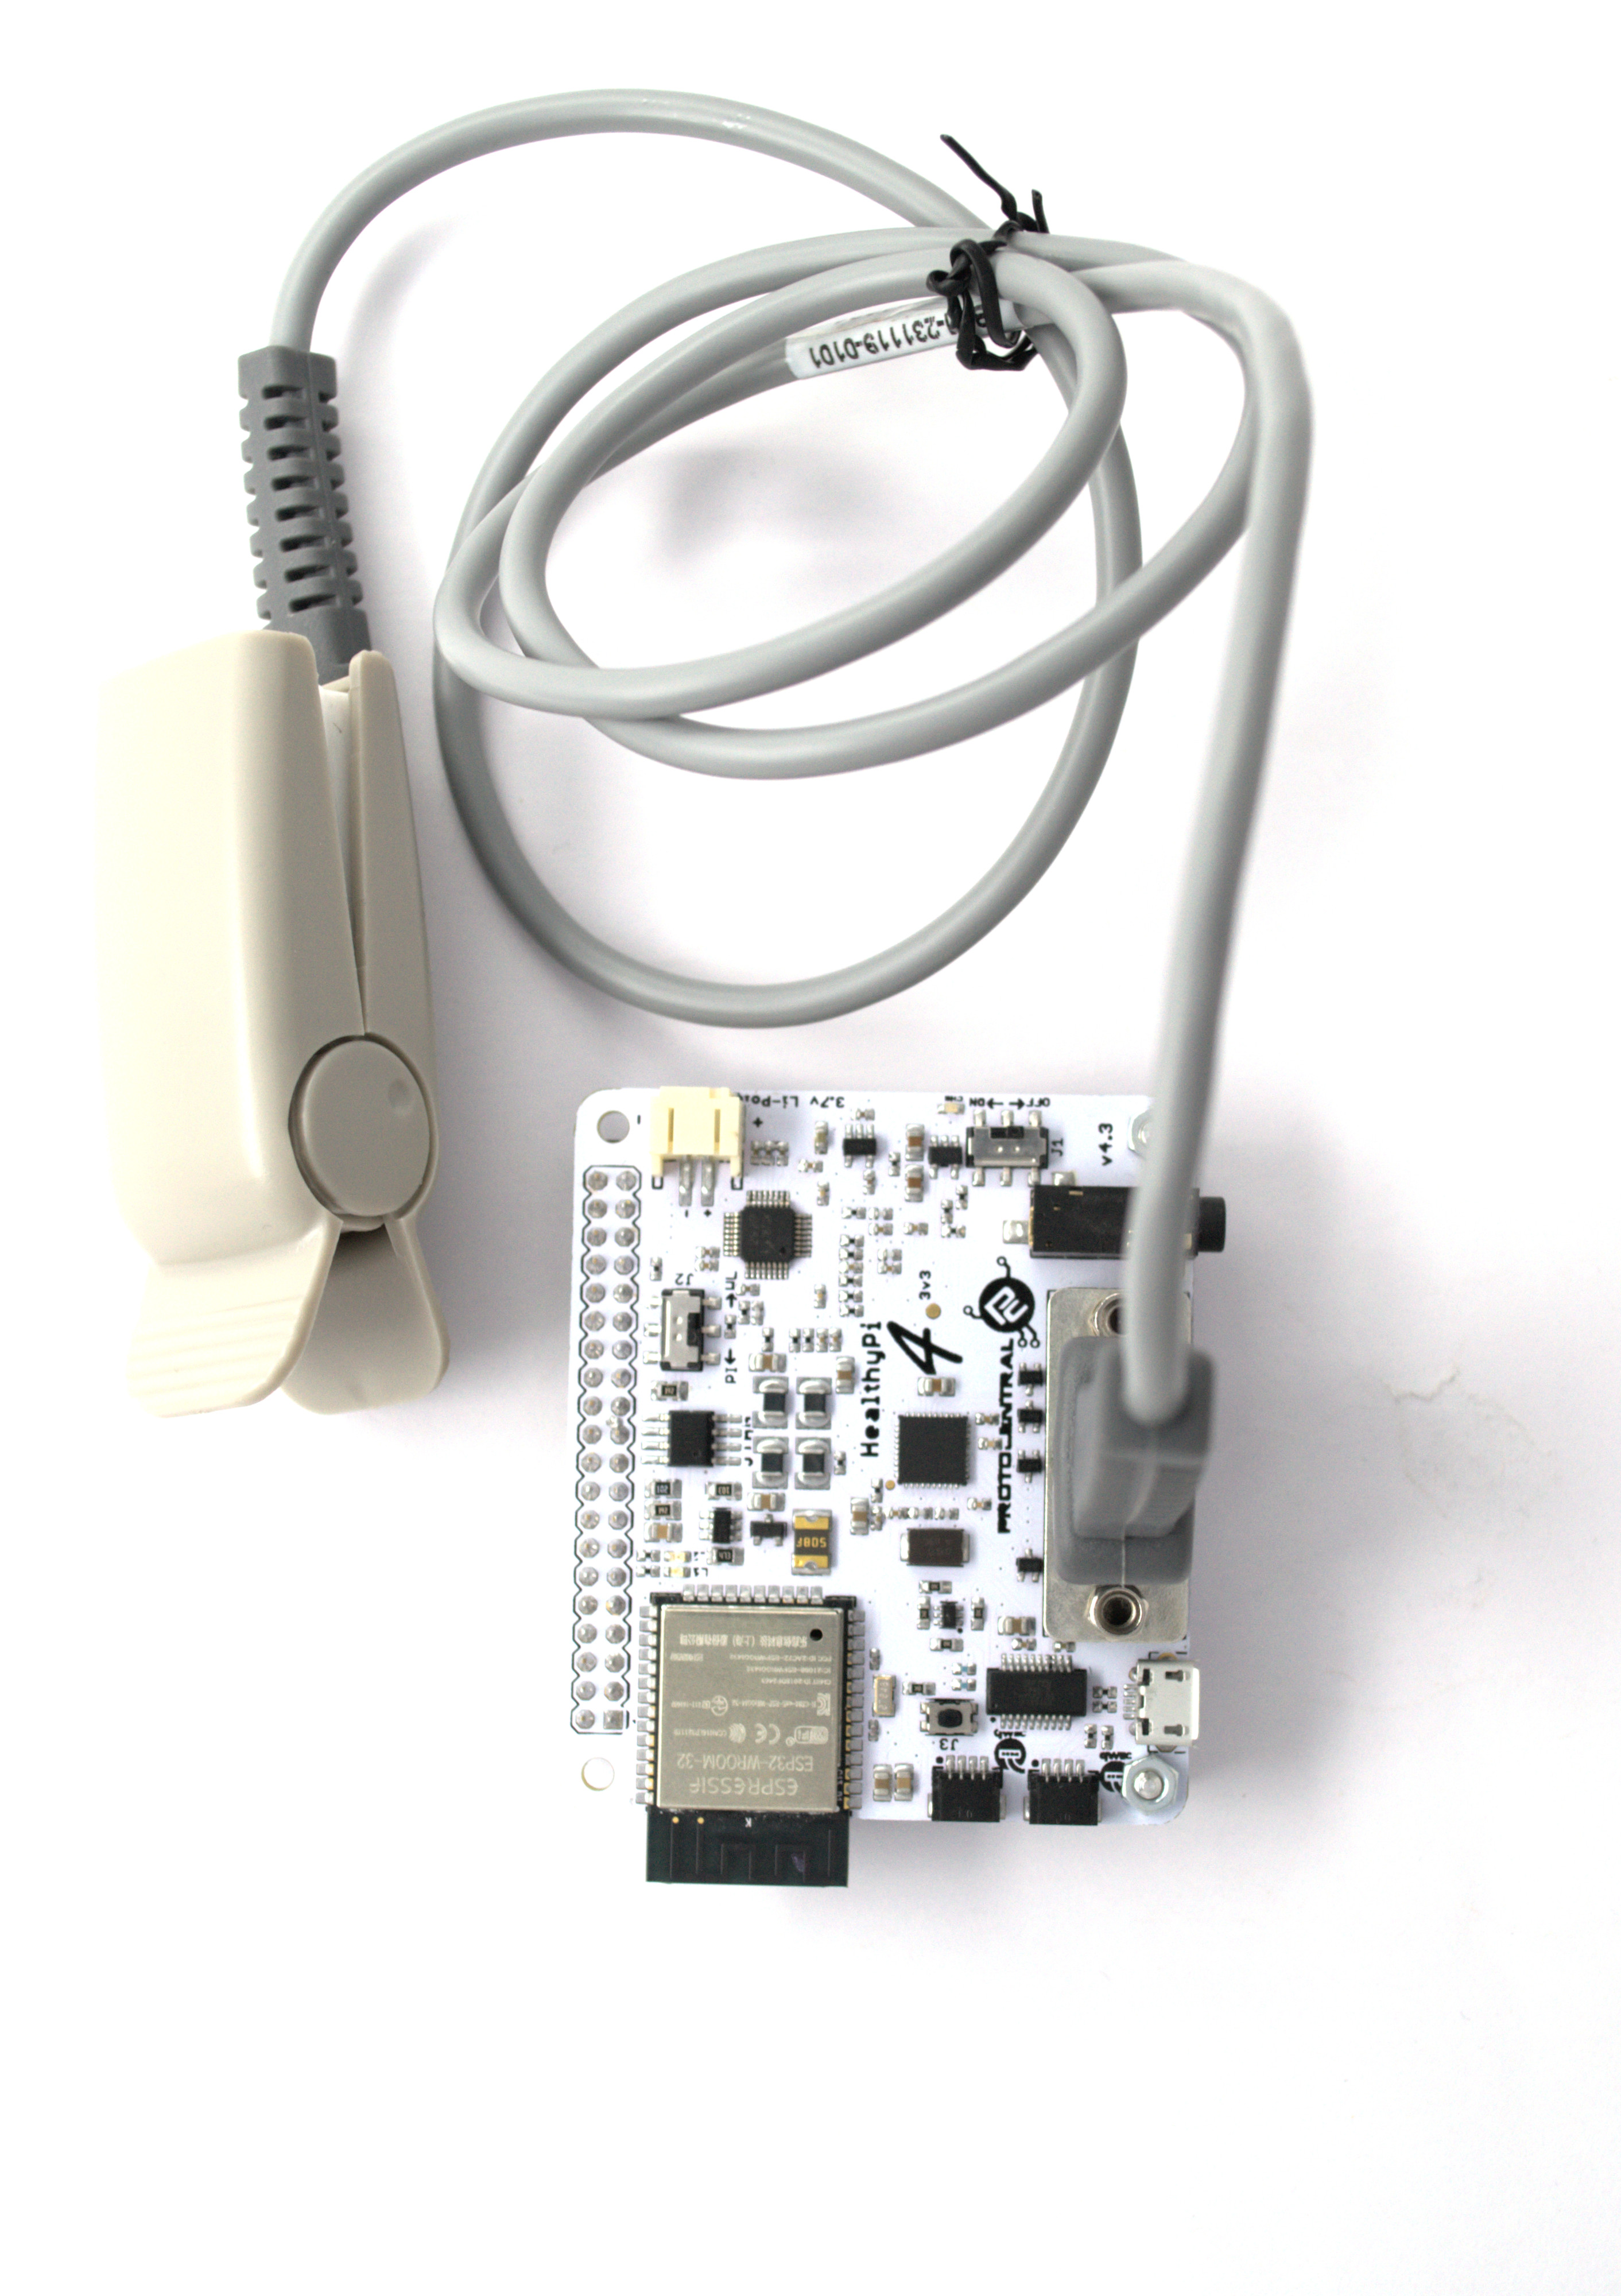
Pulse oximetry is an optical method of non-invasively measuring the oxygen content in the blood. This is achieved with the help of a finger-clip probe that contains some LEDs on one side of the clip and a photo-detector on the other side.
The LEDs emit light in the red and IR wavelengths. Some of these are absorbed by the blood and the rest is transmitted through to the other side of the finger, which is picked up by the photo-detector. The Pulse Oximetry front-end measures this variance in the transmitted light intensity to display the Photoplethysmogram (PPG) signal. SPo2 is a computed value derived from the Red and IR PPG signal.
To start measuring, simply plug-in the provided SPo2 finger-clip probe to the DB9 connector on the HealthyPi v4 board. If the probe is properly plugged in, you should see a Red glow inside the probe.
Connecting the temperature sensor
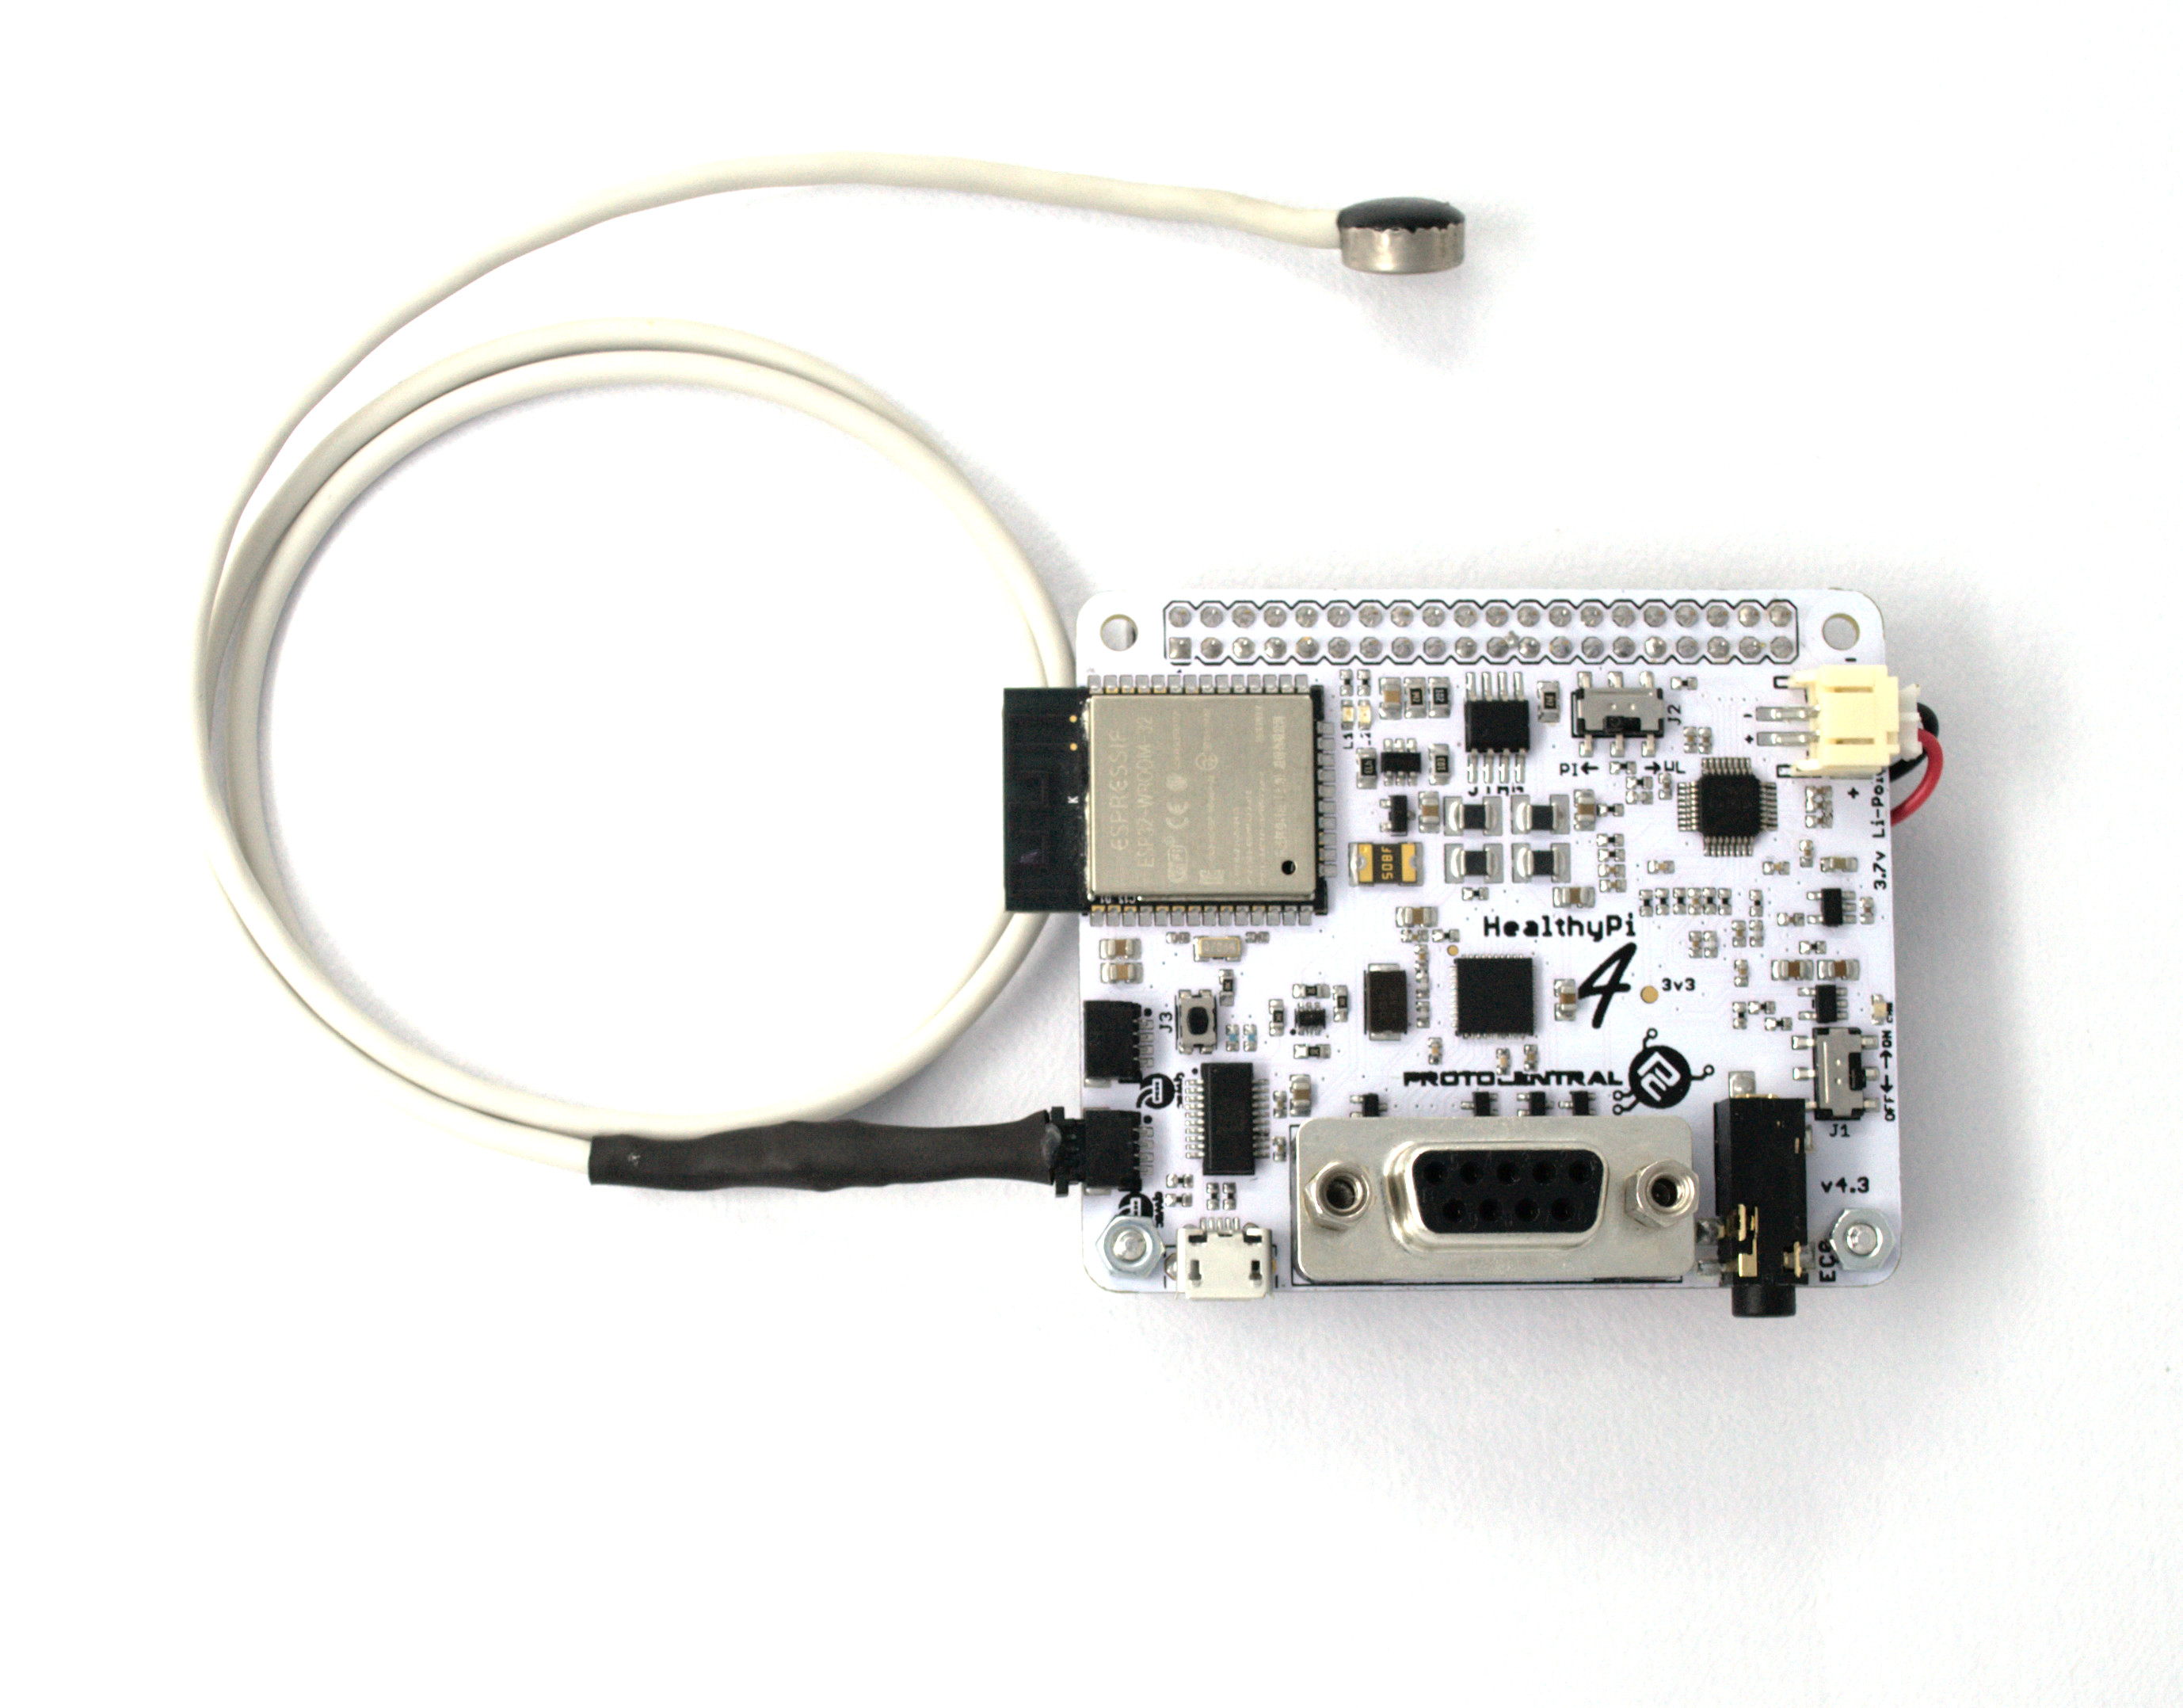
A digital human body temperature sensor based on the MAX30205 from Maxim Integrated is provided. This sensor provides direct, calibrated temperature values over a digital I2C interface. The sensor comes as qwiic based connectors making the interface even more simpler than before and a cable for maximum flexibility.
No more colour coding confusion, Just Plug the qwiic based temperature sensor directly to read data. Refer the connection shown in the above image.
Selecting modes
Explore with two modes
Now switching between two different modes in the HealthyPi v4 is made simple. You have to just slide the mode selection switch to experience the features hidden under the two modes, the default mode will be HPi3 mode and another is the wearable mode.
Choice for connectivity
In the wearable mode the HealthyPi v4 acts as wireless, you can choose the default BLE mode or enter Webserver mode using the on-board push button. Stream live real-time vitals in your smart devices with these communication protocols.
Powering the device
Plugging Battery
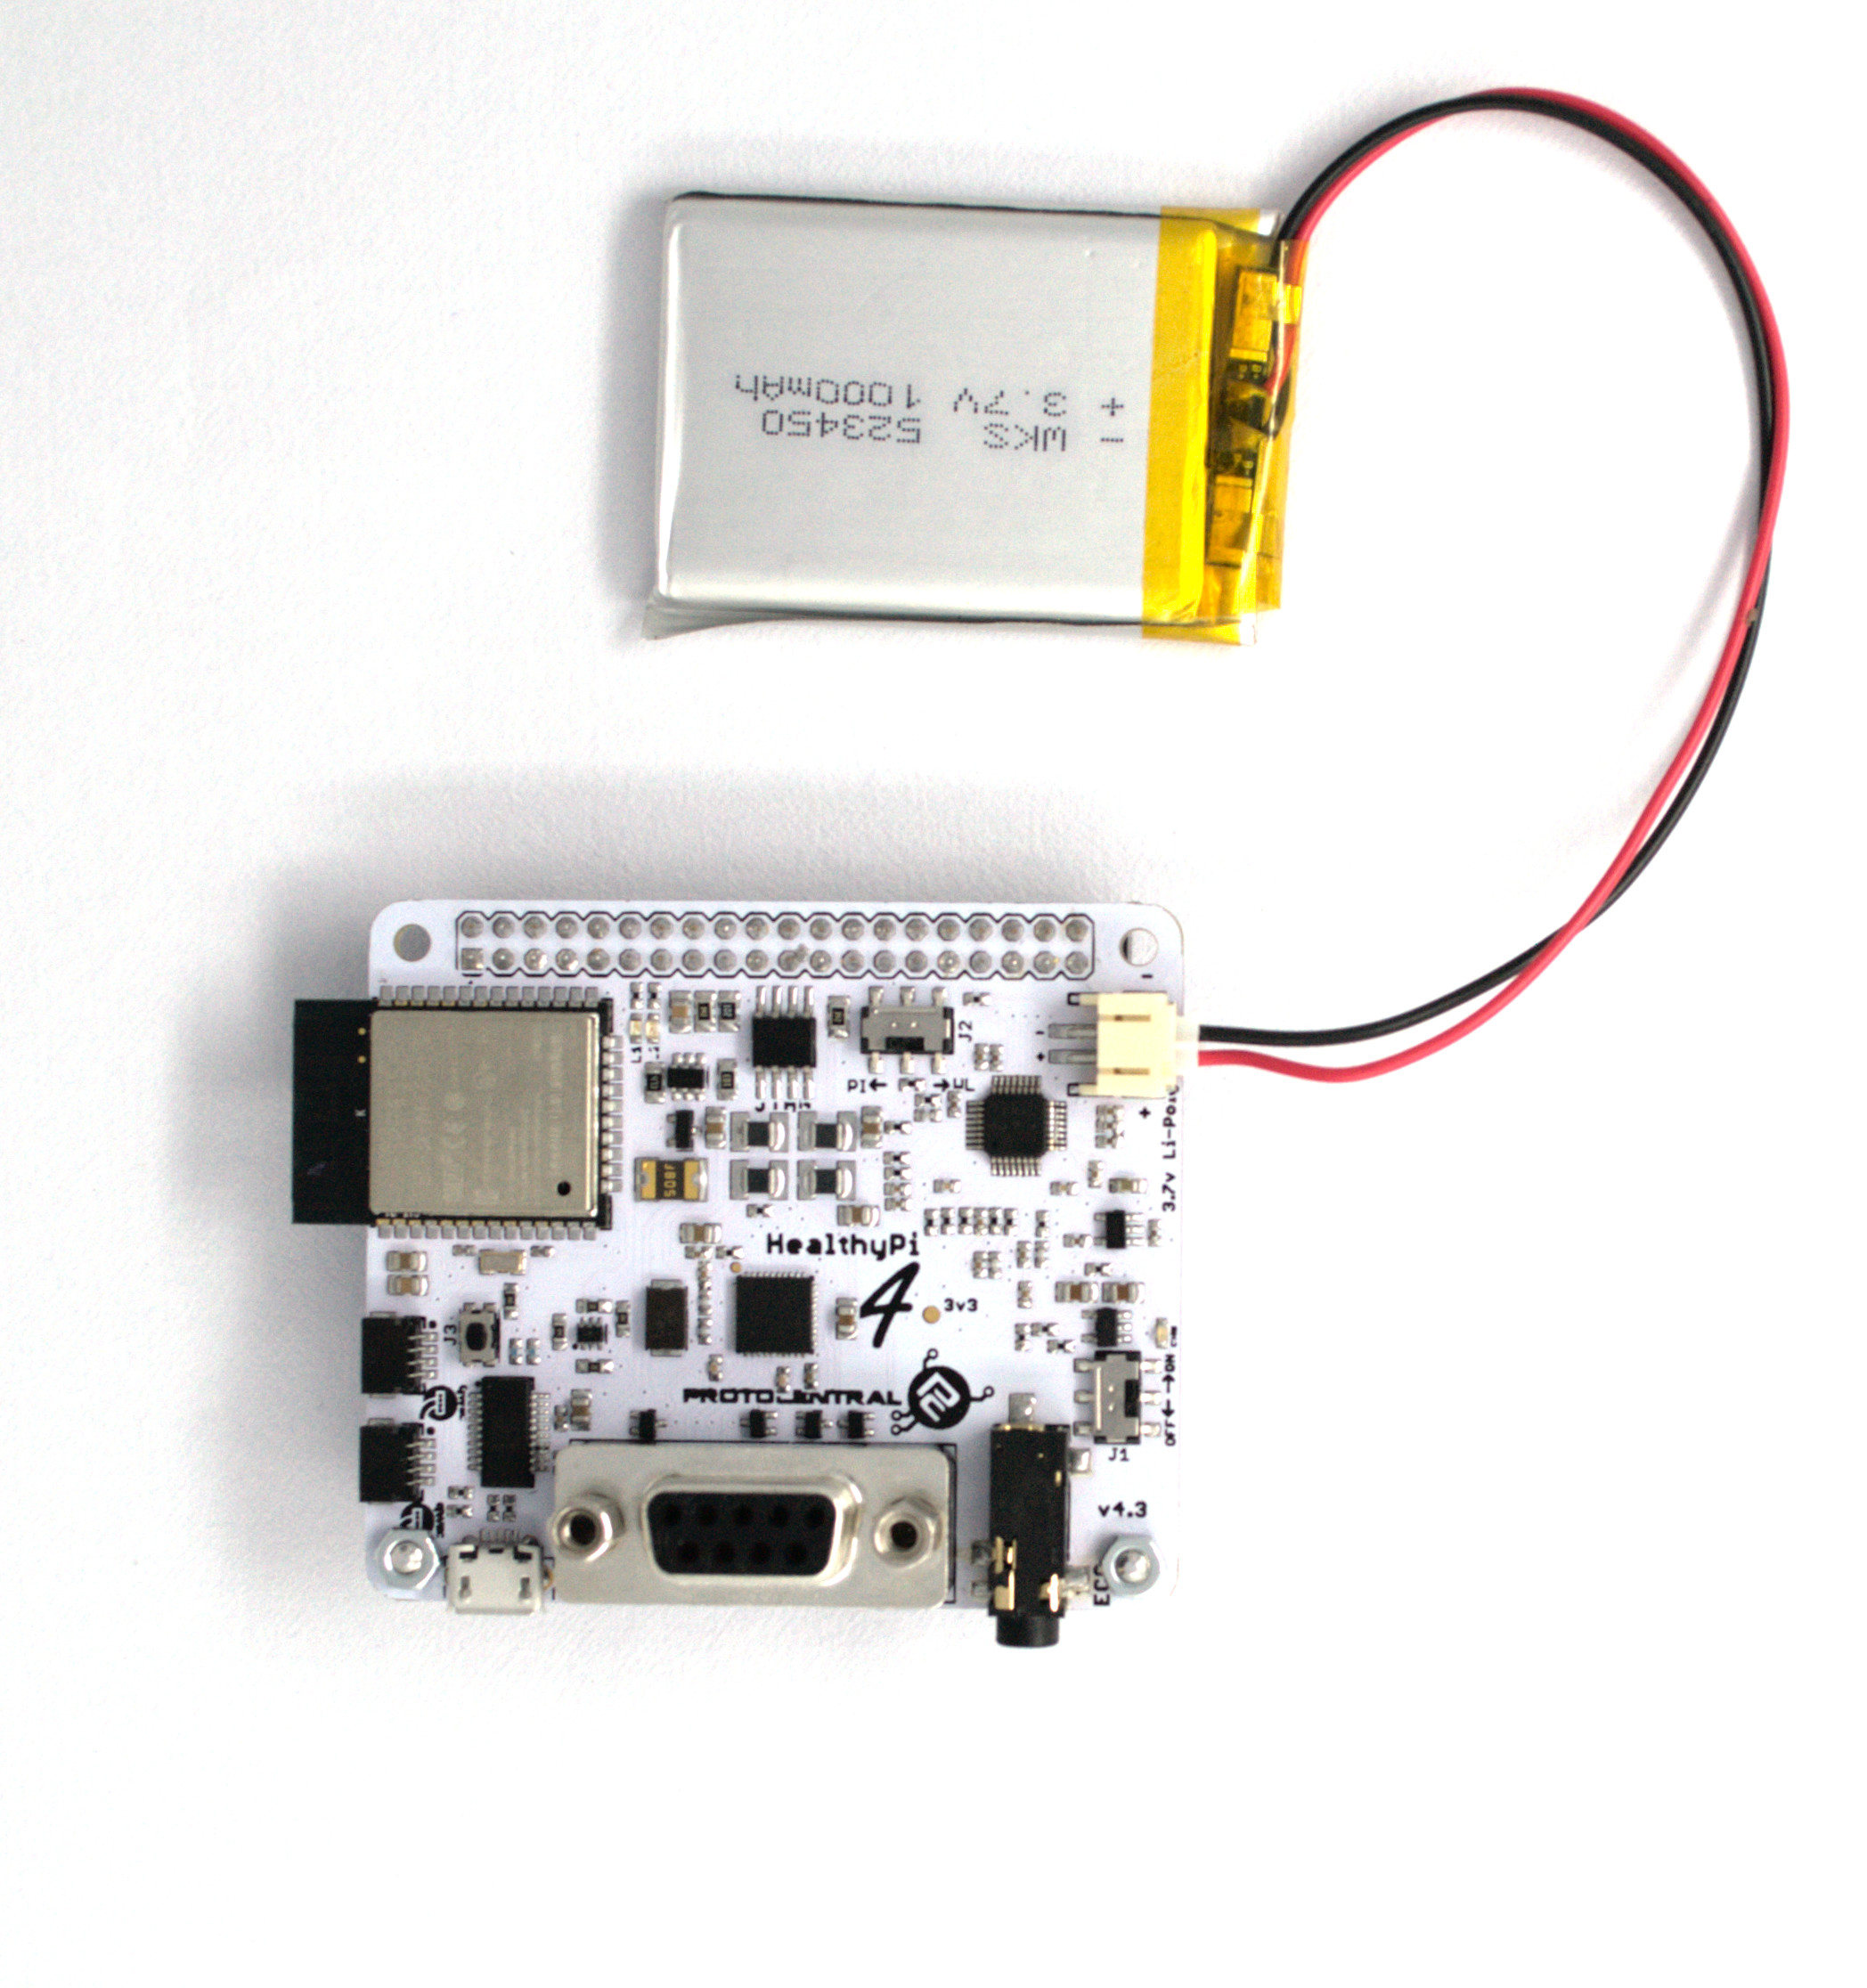
Powering the device with a Li-Po rechargeable battery improves its portability. HealthyPi v4 can be used as a standalone device, without external interfaces or power. The battery can be directly connected to HealthyPi v4 through the onboard 2-pin JST-PH connector. Check out the image above connecting the battery with HealthyPi v4.
Using a USB Port
You can plug cables into a USB port in HealthyPi v4 at any time regardless of whether the device is powered on or off. The USB port can be used for powering the device, uploading the code and charging the battery.
On-board Indication
| HealthyPi v4 | Indication - LED |
|---|---|
| Power ON | Yellow LED glows for 2.5sec |
| HPi3 Mode | Blue LED glows from low to high and high to low |
| Device Restart | Yellow LED glows for 2.5sec |
| BLE Mode | Yellow LED blinks until connected |
| Webserver mode | Yellow LED glows from low to high and high to low |
| Soft-AP | Blue LED blinks 6 times |
| OTA Upload Complete Indication | Both(Yellow and Blue) LEDs blinks together |
| Charge Indication | Red LED glows until battery fully charged |